To make the cross-section for my box I first had to measure the length of the box corner to corner. This was 530mm. Then the 3D technician cut me 2 MDF boards 4mm thick, 530mm long and 150mm wide. I then clamped them together so I didn't have to cut the out one at a time.

I then used a ruler to make straight line on either side of the hole like so. >>
This was done so that the MDF boards could slot together nicely.
Once the lines had been put on the sides of the hole, we was able to use the band saw to cut the waste section out so that the cross section pieces could fit together.
 One of the MDF boards had to have a longer section cut out so they fit together with no over lap. This made sure that they could fit together in the box correctly and that they were even.
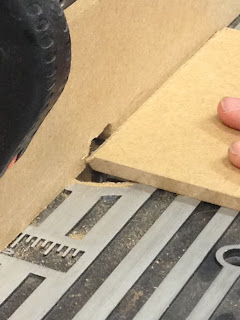
 Once the router was set up on the correct setting, I was able to put the MDF boards on the platform and cut the 45 degrees corner by cutting one edge and then flipped it over to make the corners. I did this on all 4 ends of the MDF boards. I put them together and tried them in the box, at this point I noticed that one of the boards as a bit too long so I too this board and re-routed it t o the correct size.
Now at this point I was finished making the cross section and began to paint them black using acrylic paints and them got help to hammer them into place within the box so they would stay they.


No comments:
Post a Comment